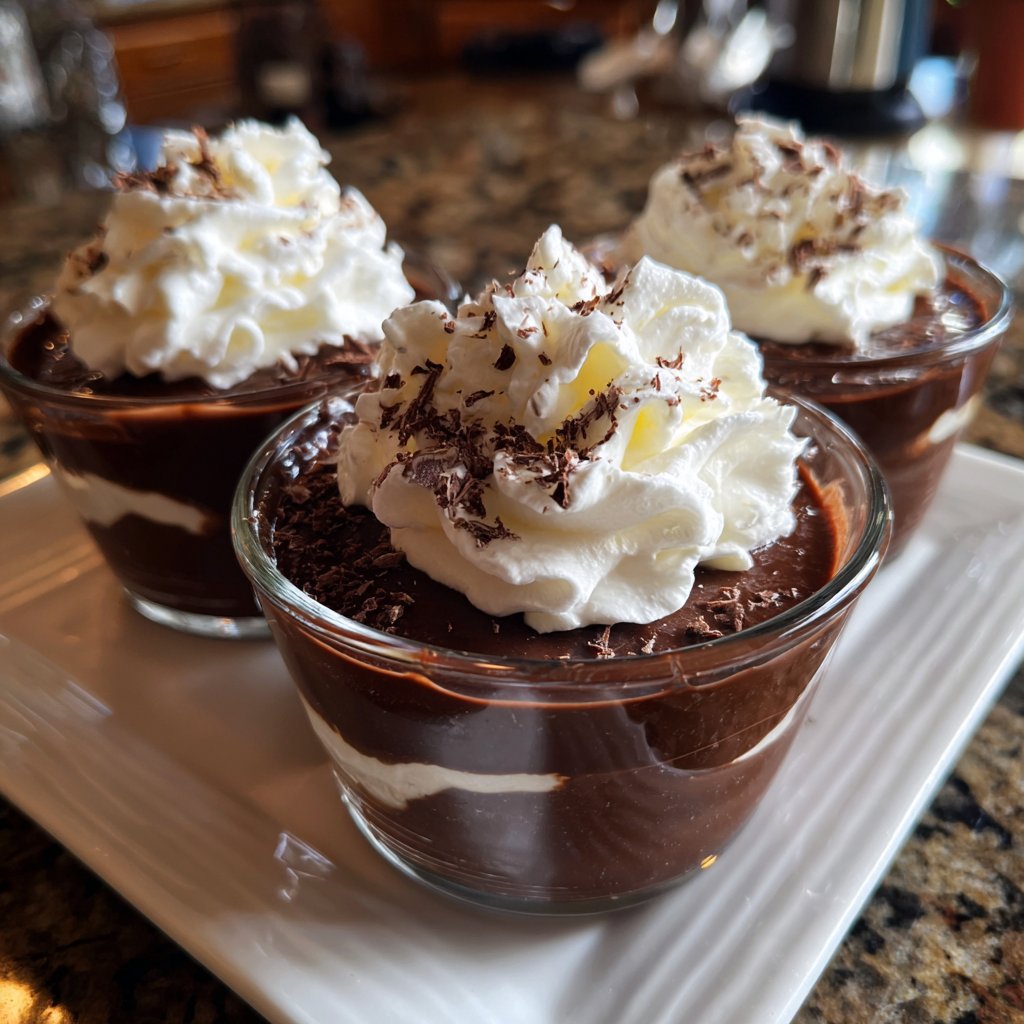
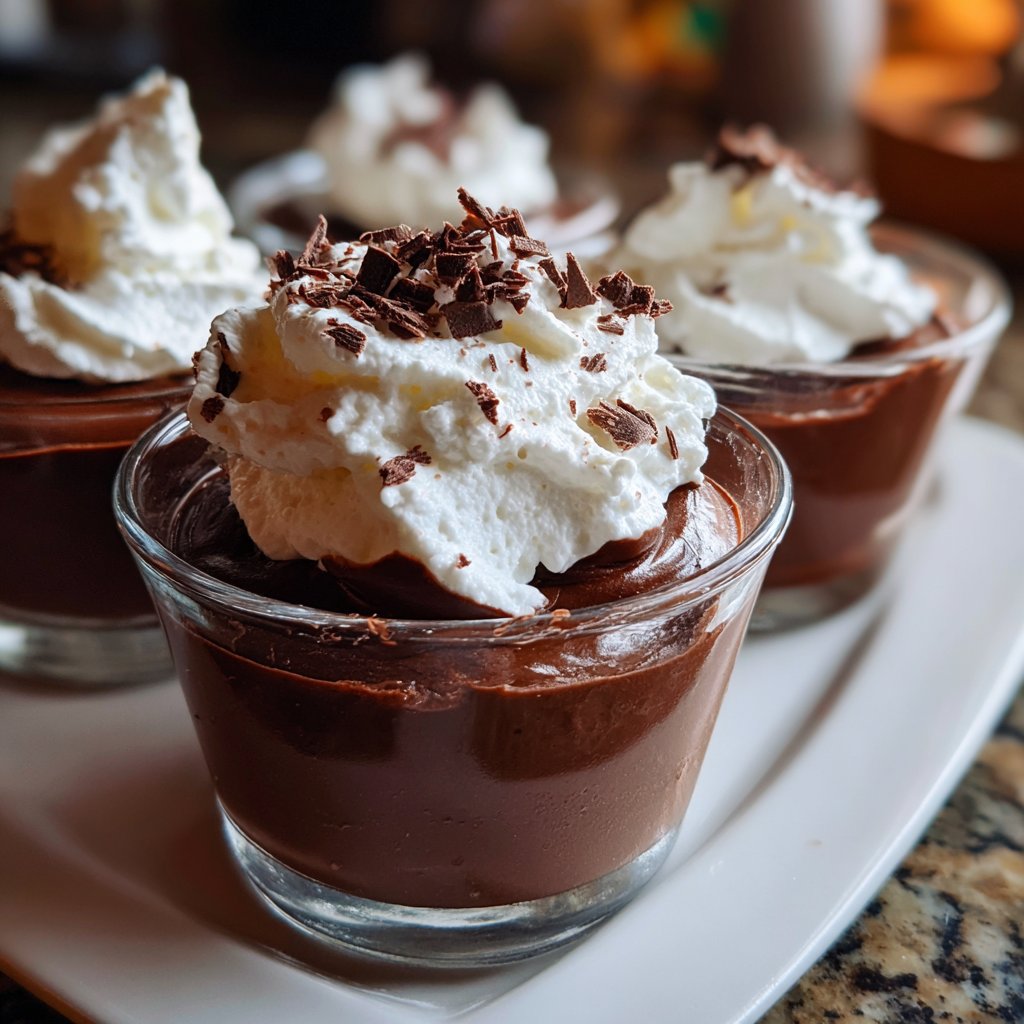
Creamy Chocolate Pudding Cups
Highlighted under: Oven-Crafted Sweets
I absolutely love indulging in a rich dessert, and these Creamy Chocolate Pudding Cups never disappoint. They are incredibly easy to whip up and offer the perfect balance of sweetness and chocolatey goodness. With just a handful of ingredients, you can create a decadent treat that impresses anyone. Whether you're hosting a dinner party or just want a delightful snack, these pudding cups are sure to satisfy your cravings. Let me guide you through the process and share my tips for achieving the ultimate creamy texture.
When I first made these Creamy Chocolate Pudding Cups, I was blown away by how rich and smooth the texture turned out. I experimented with using both bittersweet and semi-sweet chocolate to create a depth of flavor that always leaves an impact. The simplicity of the ingredients makes it a go-to recipe for last-minute cravings or when I want to impress guests.
One of my favorite tips is to let the pudding chill for a little longer than you think after cooking. This not only enhances the flavor but also helps to achieve that velvety consistency that makes each spoonful a delight. Trust me, the wait is worth it!
Why You'll Love This Recipe
- Rich chocolate flavor paired with fresh orange zest
- Creamy texture that melts in your mouth
- Perfect for celebrations or as a sweet indulgence
Mastering the Creamy Texture
Achieving that perfect creamy texture is all about the right balance between your dry ingredients and milk. When whisking the sugar, cocoa powder, cornstarch, and salt, ensure they are well combined to avoid any clumps. Using a medium heat while cooking is crucial; too high will result in a grainy texture, so keep an eye on it and stir consistently. You'll know it's time to remove it from the heat when the mixture thickens and starts to bubble gently.
Another vital step for creaminess is the addition of bittersweet chocolate. When you remove the saucepan from the heat, carefully stir in the chopped chocolate and vanilla extract. The residual heat will melt the chocolate, creating a smooth and glossy pudding. If you notice any lumps, using an immersion blender can help blend it to perfection without overcooking.
Making It Your Own
Feel free to customize these pudding cups! Adding fresh orange zest not only enhances the chocolate flavor but also adds a refreshing twist. For a minty variation, consider mixing in some peppermint extract instead of vanilla. You can also experiment with different types of chocolate; try semi-sweet or even white chocolate for a unique flavor profile.
If you're looking for a dietary swap, you can substitute almond, soy, or oat milk for whole milk. Keep in mind that each milk alternative will alter the flavor slightly. To make this dessert vegan, use dairy-free chocolate and a plant-based milk, which will still provide a rich taste without the dairy.
Storage and Serving Suggestions
These creamy chocolate pudding cups can be made a day in advance, making them an excellent choice for entertaining. After preparing and chilling the pudding for at least 2 hours, you can top it with whipped cream or chocolate shavings just before serving to add a nice finishing touch. Store any leftovers in an airtight container in the refrigerator for up to three days, though the texture might slightly change as it sits.
For a fun presentation, consider layering the pudding with fruits like raspberries or strawberries in your serving cups. This not only adds a burst of freshness but also contrasts beautifully with the rich chocolate. You could also serve it with crushed cookies on top for added texture and a bit of crunch.
Ingredients
Ingredients
For the Pudding
- 2 cups whole milk
- 1/2 cup granulated sugar
- 1/3 cup unsweetened cocoa powder
- 1/4 cup cornstarch
- 1/4 teaspoon salt
- 4 ounces bittersweet chocolate, chopped
- 1 teaspoon vanilla extract
Feel free to garnish with whipped cream or chocolate shavings for added flair!
Instructions
Instructions
Combine Dry Ingredients
In a saucepan, whisk together the sugar, cocoa powder, cornstarch, and salt until well combined.
Add Milk
Slowly add the milk to the dry ingredients while whisking to avoid lumps.
Cook the Mixture
Place the saucepan over medium heat and cook, stirring constantly, until the mixture thickens and bubbles begin to form.
Mix in Chocolate and Vanilla
Remove the saucepan from the heat and stir in the chopped chocolate and vanilla extract until the chocolate is fully melted and smooth.
Chill the Pudding
Pour the pudding into serving cups and let it cool to room temperature. Then refrigerate for at least 2 hours before serving.
Serve chilled and enjoy every spoonful!
Pro Tips
- To enhance the dessert, consider adding a touch of orange zest or a sprinkle of sea salt on top before serving.
Troubleshooting Common Issues
If your pudding doesn't thicken as expected, it might be due to not cooking it long enough. It should gradually thicken as it heats; ensure you are stirring constantly and observing for those first bubbles to form. If it remains too thin, you can reheat it gently while whisking in a bit more cornstarch mixed with cold milk, which will help thicken the mixture further.
Conversely, if your pudding feels too thick, that's often a result of cooking it too long. While it's important to reach a thick consistency, you want it smooth and pourable. If it has become overly thick, a touch of warm milk mixed in can bring it back to the desired consistency.
Scaling the Recipe
Scaling this recipe up is simple and perfect for gatherings. Just multiply the ingredients by the number of servings you'd like to create, ensuring you use a large enough saucepan for cooking. For instance, if you're making eight servings instead of four, use four cups of milk and adjust your other ingredients accordingly.
When scaling down, be cautious with your cooking time as smaller quantities cook faster. Always monitor closely to avoid overcooking. Reducing the recipe to just a single serving can be a fun way to enjoy a quick treat without too much hassle, just remember to adjust your measurements accordingly.
Questions About Recipes
→ Can I use non-dairy milk?
Yes, almond milk or oat milk can be substituted for whole milk for a dairy-free option.
→ How long can I store the pudding?
The pudding can be stored in the refrigerator for up to 3 days.
→ Can I use chocolate syrup instead of cocoa powder?
Using chocolate syrup may alter the consistency and sweetness; it's best to stick with cocoa powder for this recipe.
→ What should I do if my pudding isn't thickening?
Make sure to stir constantly while cooking and ensure you’ve measured the cornstarch accurately, as it's crucial for thickening.
Creamy Chocolate Pudding Cups
Created by: Riley Dawson
Recipe Type: Oven-Crafted Sweets
Skill Level: Easy
Final Quantity: 4 servings
What You'll Need
For the Pudding
- 2 cups whole milk
- 1/2 cup granulated sugar
- 1/3 cup unsweetened cocoa powder
- 1/4 cup cornstarch
- 1/4 teaspoon salt
- 4 ounces bittersweet chocolate, chopped
- 1 teaspoon vanilla extract
How-To Steps
In a saucepan, whisk together the sugar, cocoa powder, cornstarch, and salt until well combined.
Slowly add the milk to the dry ingredients while whisking to avoid lumps.
Place the saucepan over medium heat and cook, stirring constantly, until the mixture thickens and bubbles begin to form.
Remove the saucepan from the heat and stir in the chopped chocolate and vanilla extract until the chocolate is fully melted and smooth.
Pour the pudding into serving cups and let it cool to room temperature. Then refrigerate for at least 2 hours before serving.
Extra Tips
- To enhance the dessert, consider adding a touch of orange zest or a sprinkle of sea salt on top before serving.
Nutritional Breakdown (Per Serving)
- Calories: 380 kcal
- Total Fat: 26g
- Saturated Fat: 15g
- Cholesterol: 195mg
- Sodium: 85mg
- Total Carbohydrates: 32g
- Dietary Fiber: 3g
- Sugars: 24g
- Protein: 6g